Getting a university offer is only half the journey — the student visa process is where most families feel nervous, confused, or rushed.
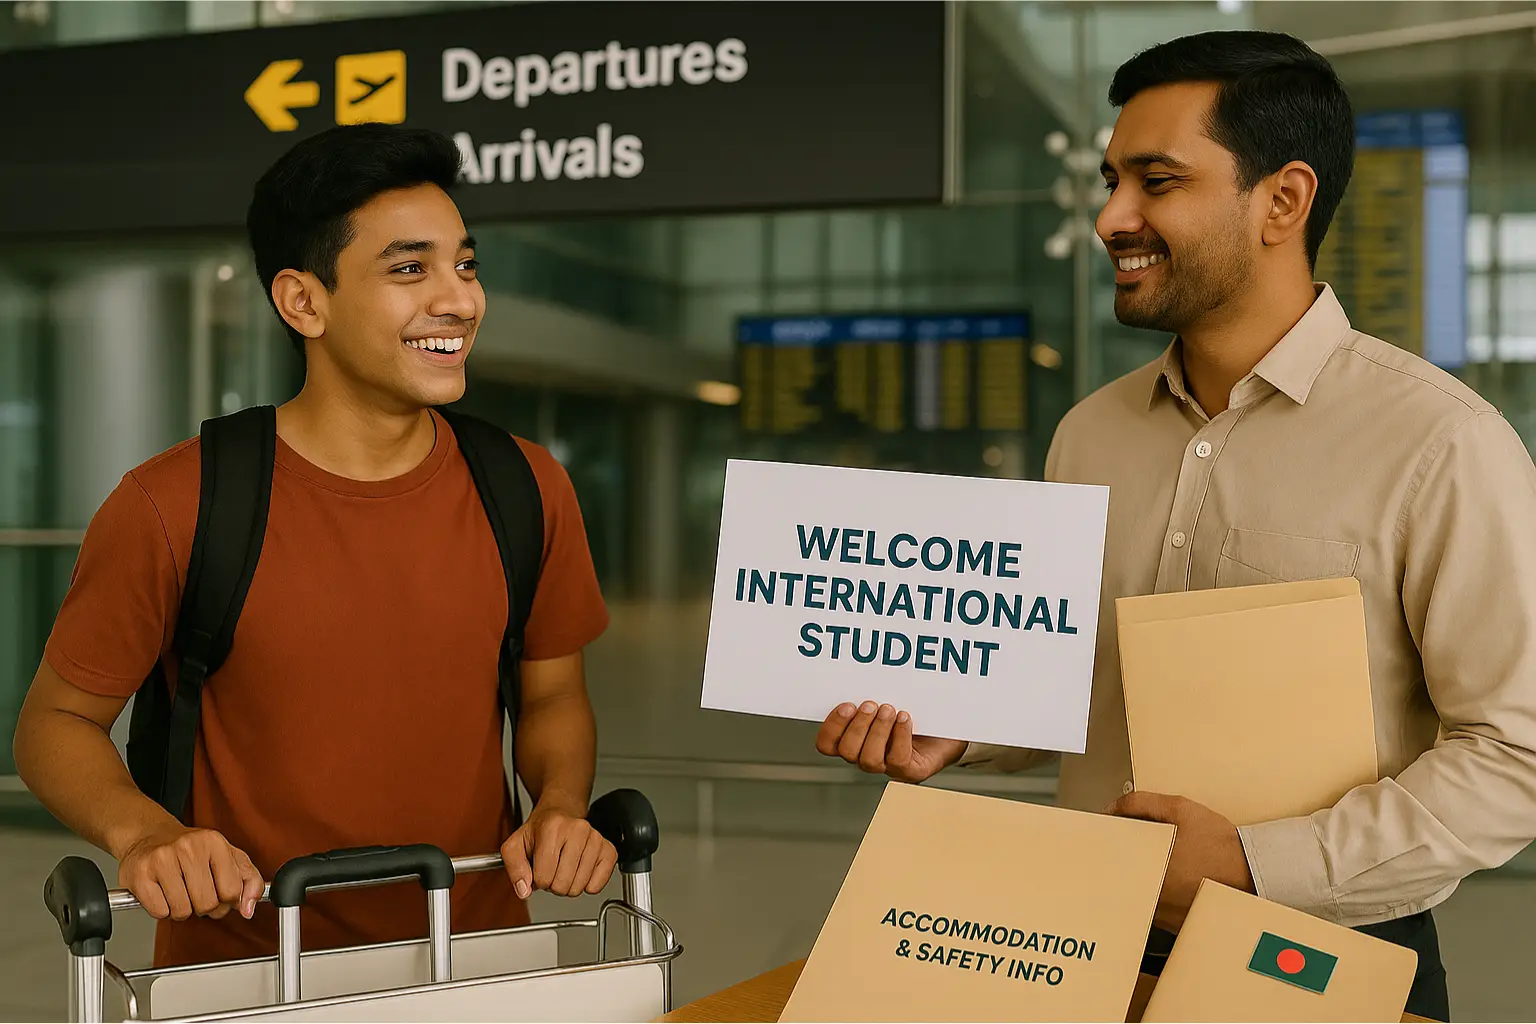
At PathBridge Education, we guide every Bangladeshi student step-by-step through the visa process — ensuring all documents are complete, timelines are met, and parents stay fully informed.
In this post, you’ll learn the complete visa process for studying in Malaysia, Singapore, and Thailand, with real-world tips, timeline breakdowns, and success advice.
✈️ Step 1: Receive the Offer Letter
After applying to your university and being accepted, you’ll receive:
- Conditional Offer Letter → requires submitting more documents
- Unconditional Offer Letter → ready for visa processing
✅ Tip: Always check if the university is listed on your destination country’s approved institutions list.
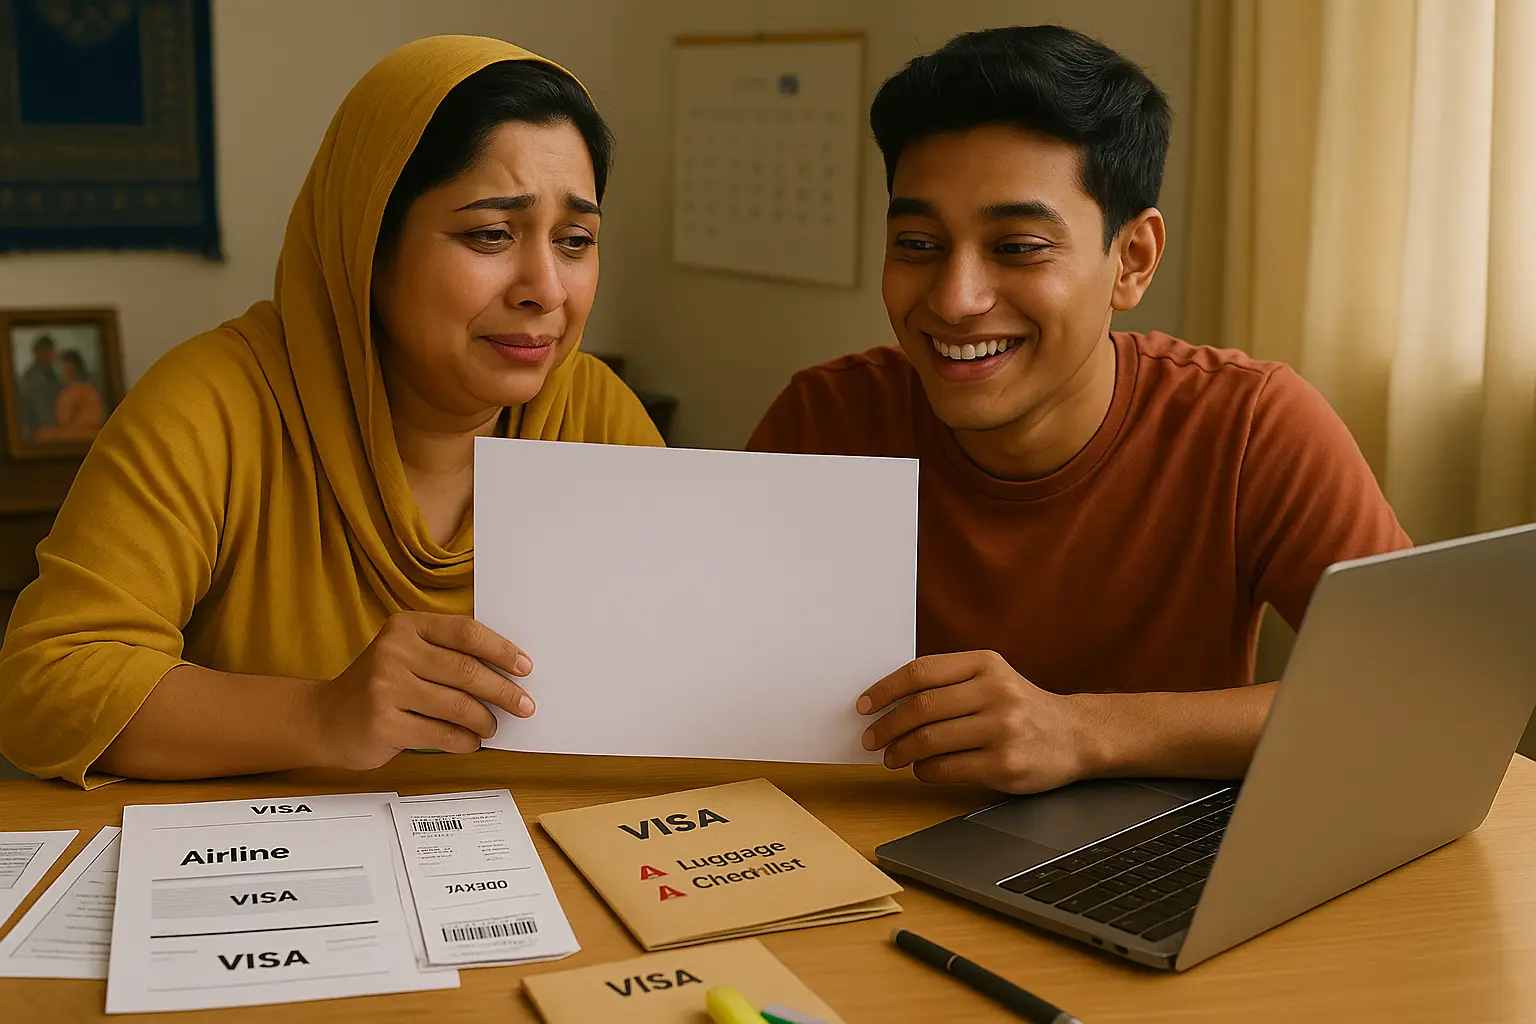
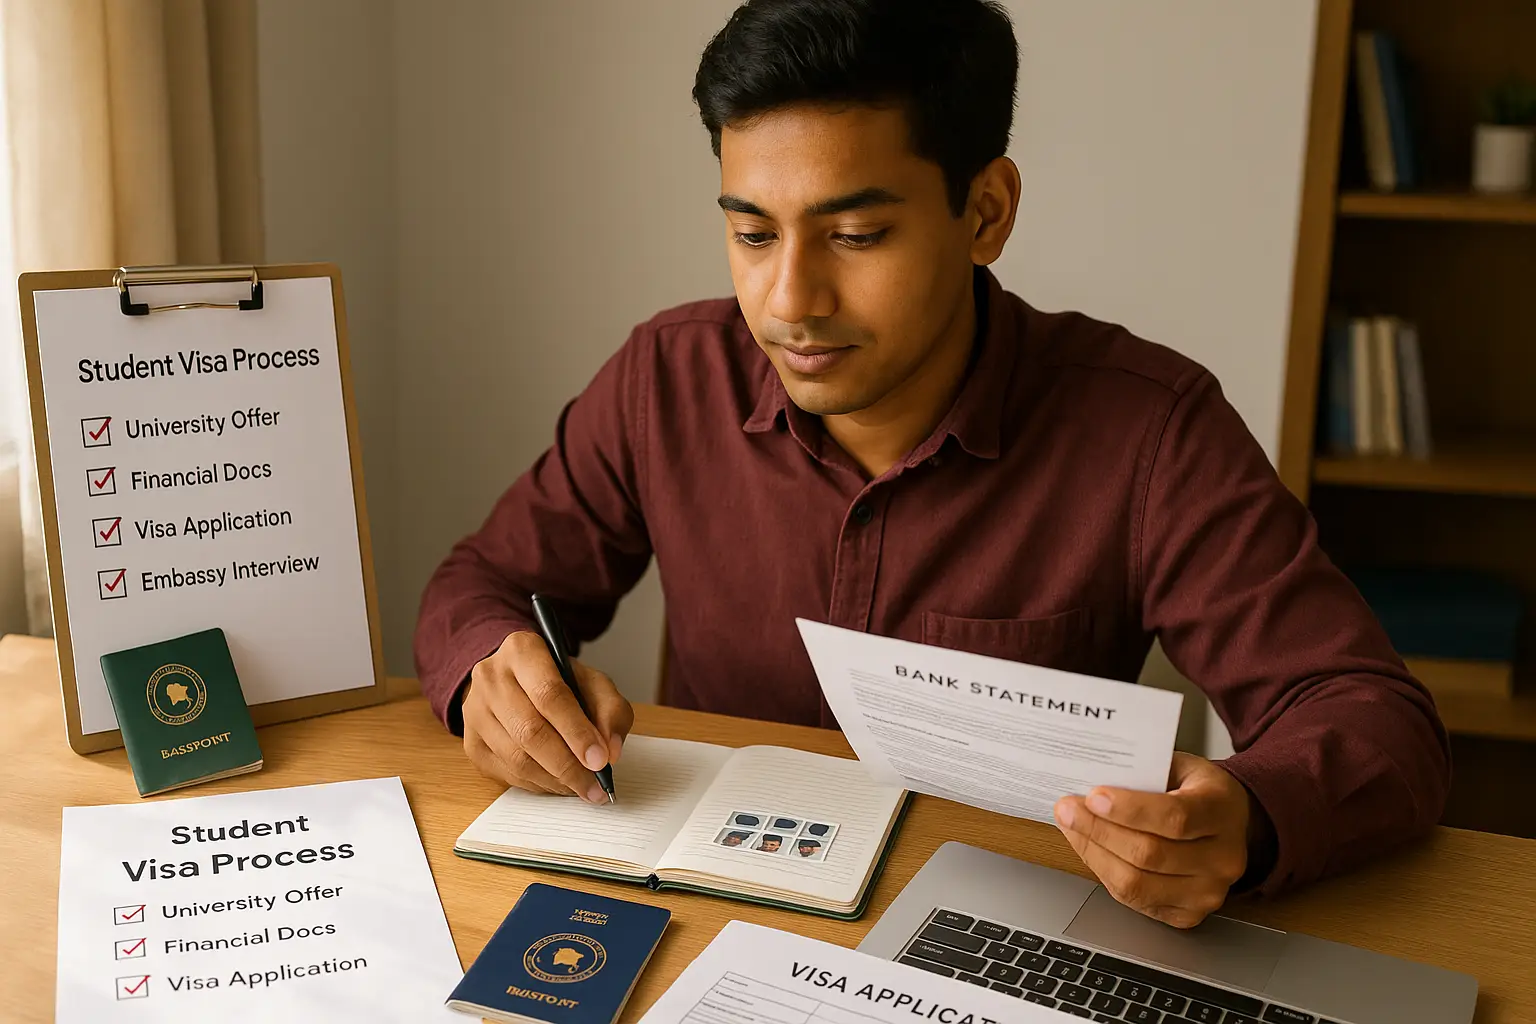
📑 Step 2: Prepare All Visa Documents
Here’s a standard list of documents you’ll need for visa processing (some variation by country):
| Document | Notes |
| Passport (valid 12+ months) | Clear copy of all pages |
| Academic certificates | SSC, HSC, O/A Level results |
| University Offer Letter | Unconditional preferred |
| Passport-size photos | White background |
| Medical report | Some countries require a health screening |
| Sponsor’s bank statement | Must show required financial capacity |
| Sponsor’s affidavit | Usually signed by a parent/guardian |
| Visa application form | Country-specific |
| Police clearance (optional) | Sometimes required for Master’s students |
✅ At PathBridge, we prepare a Visa Checklist File for every student.
🇲🇾 Step 3 (For Malaysia): EMGS Submission
EMGS = Education Malaysia Global Services
All international students must apply through EMGS for visa approval (VAL).
| What you submit to EMGS | How long it takes |
| All documents scanned | Online upload by university |
| Medical insurance + admin fees | Depending on the university |
| VAL (Visa Approval Letter) | 14–21 working days |
Once VAL is approved, you can proceed to visa stamping.
🛂 Step 4: Visa Stamping at Embassy
Once you receive your VAL (Malaysia) or Approval Letter (Thailand/Singapore), it’s time to visit the embassy or visa center.
Documents Needed for Stamping:
- VAL/Approval Letter
- Original passport
- Offer letter
- Medical certificate
- Flight booking (optional)
- Visa fee payment
✅ PathBridge helps students book visa appointments and prepare properly for submission.
📬 Step 5: Wait for Visa Issuance
Embassy processing times:
| Country | Time Estimate |
| Malaysia | 7–10 working days after stamping |
| Singapore | 10–15 working days |
| Thailand | 5–7 working days |
✅ During this time, we help arrange accommodation and pre-departure prep.
🎒 Step 6: Prepare for Travel
Once your visa is approved:
- Book your flight (we guide on best timing)
- Finalize accommodation
- Pack essentials (we give a packing checklist)
- Attend your Pre-Departure Briefing with PathBridge
🧭 Visa Timeline Summary (Ideal Case)
| Task | Timeframe |
| Application Submitted | Month 1 |
| Offer Letter Received | Month 1–2 |
| EMGS/Approval Submission | Month 2 |
| Visa Stamping | Month 3 |
| Travel | End of Month 3 or early Month 4 |
🎯 Start the process at least 4 months before intake to avoid last-minute delays.
💡 Common Mistakes to Avoid
❌ Submitting incomplete financial documents
❌ Waiting too long to apply
❌ Using scanned photos instead of proper passport photos
❌ Not checking embassy holidays
❌ Not preparing an emergency fund for unexpected delays
✅ At PathBridge, we prevent these mistakes by handling every step with you — not for you.
📞 Ready to Get Your Visa the Right Way?
Book your Free Visa Counseling Session today. We’ll:
- Review your documents
- Plan your full visa timeline
- Guide your family with full transparency